Create your first agent
Give Qalyb your website address and one sentence about what the agent should do. It researches your business, writes the agent for you, and drops you into the Playground to talk to it — all in about five minutes.
That's the whole list — no code, no model settings, no API keys. Everything happens in the dashboard, and we'll show you each screen along the way.
In the dashboard, click Agents in the left menu, then Create Agent in the top-right corner. A full-screen wizard opens — your answers go on the left, and a running preview of what Qalyb is building grows on the right.
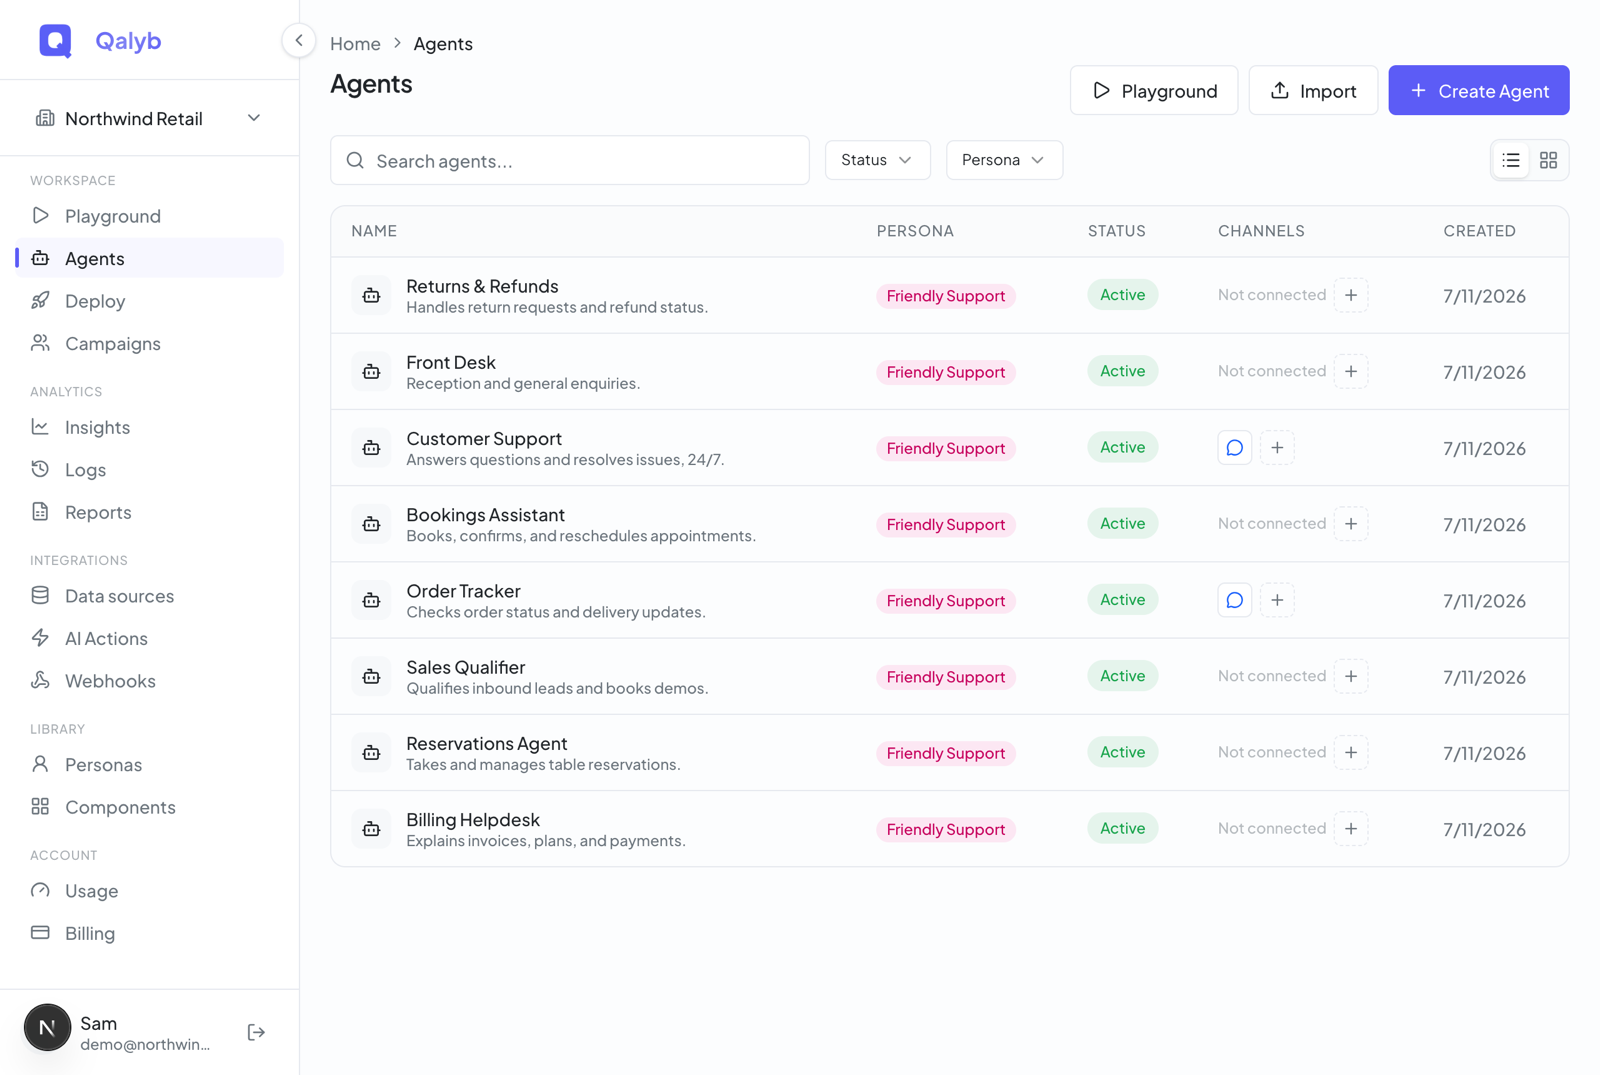
Type your domain — the https:// part is already filled in for you — and click Continue. As you move on, Qalyb quietly fetches your logo and brand colors in the background, so your chat widget will look on-brand later.
Want the agent to know more than what's on your site? Open Add files, text & more to attach PDFs or documents, paste notes, add extra page links, or pick an existing knowledge base. You can also switch on Research my business on the web and Qalyb will look up public details about your company.
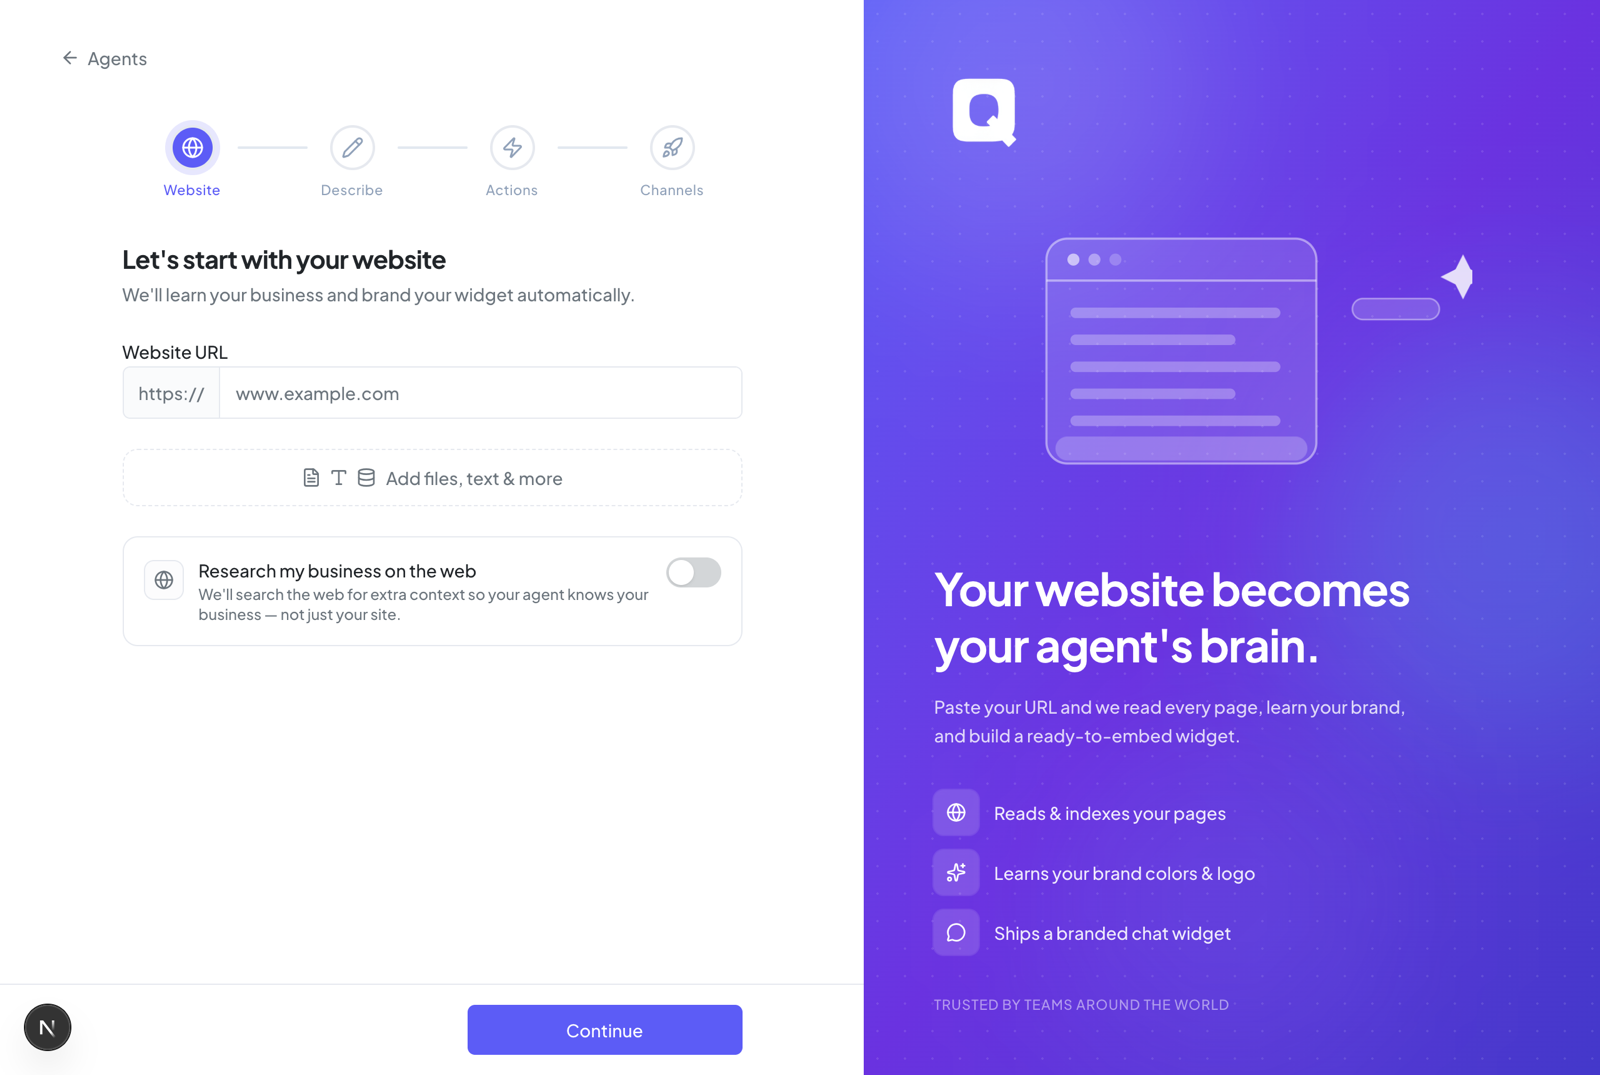
Pick a Category — Customer support, Sales, Bookings, Lead generation, or Other — then write what the agent's job is. One or two sentences is plenty, for example "Answer questions about our clinic hours, services, and pricing, and book appointments." If typing isn't your thing, press the mic button and just say it.
You can also open Start from a template to begin from a prebuilt agent. Click Continue.
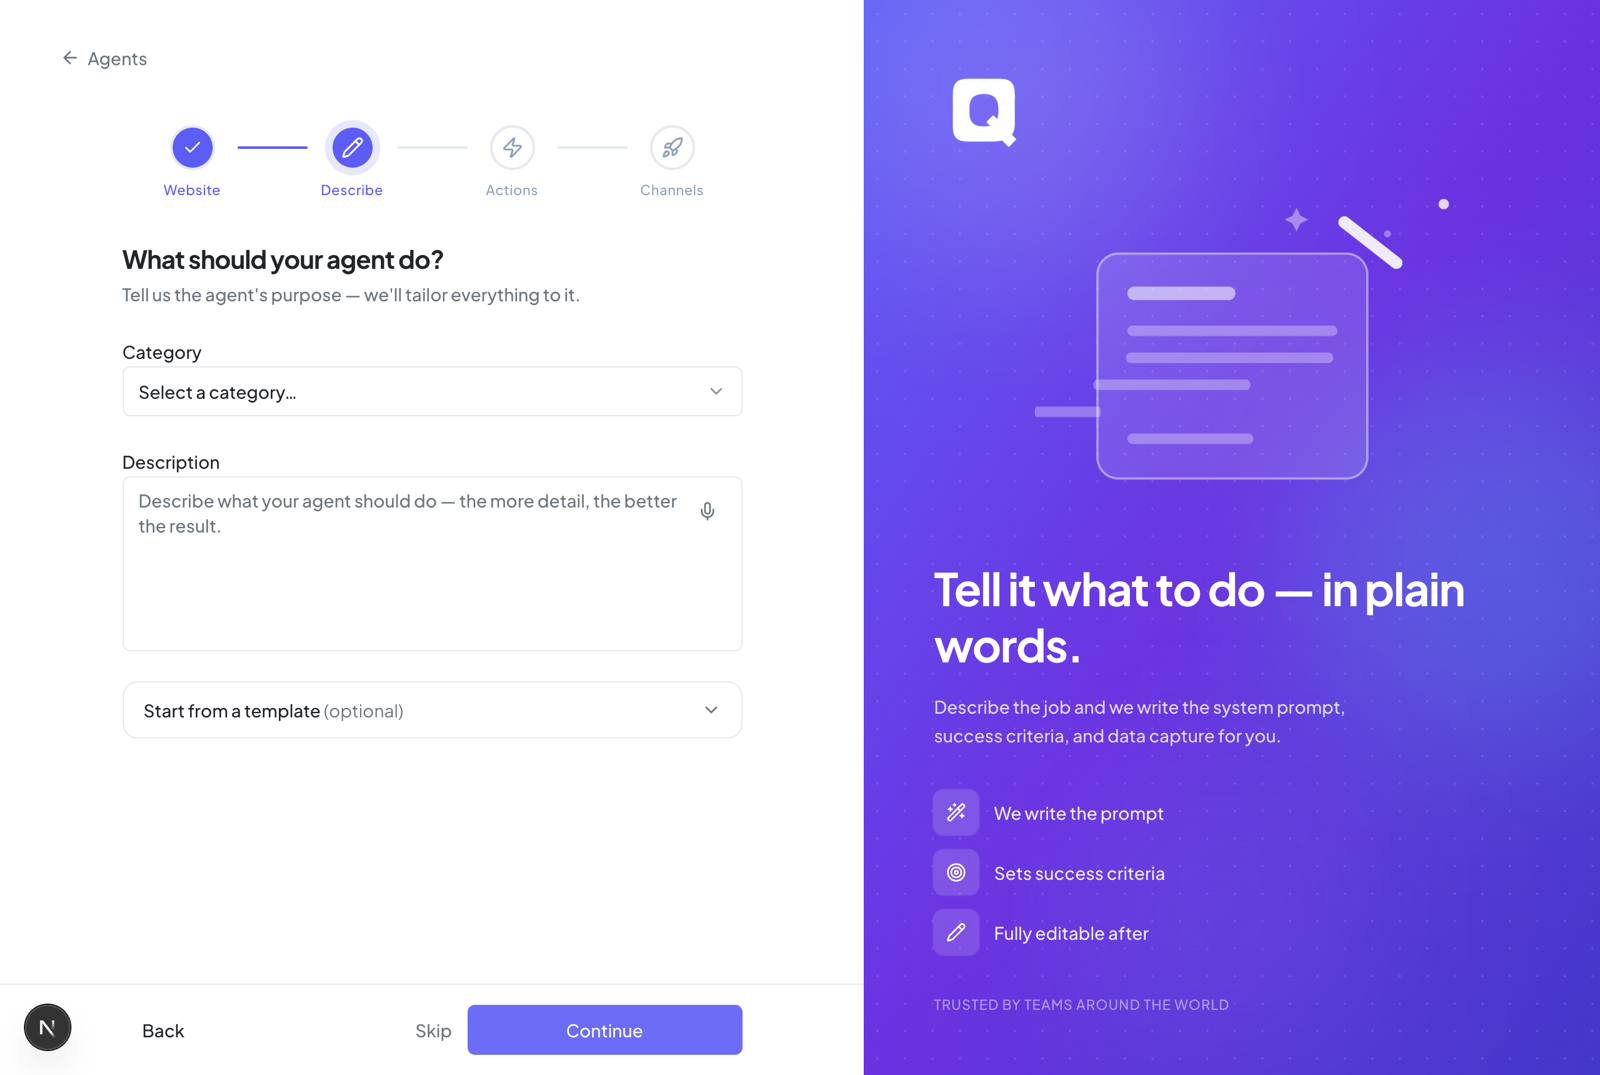
On Connect your tools, tick any AI Actions your agent should be able to use — or just click Skip.
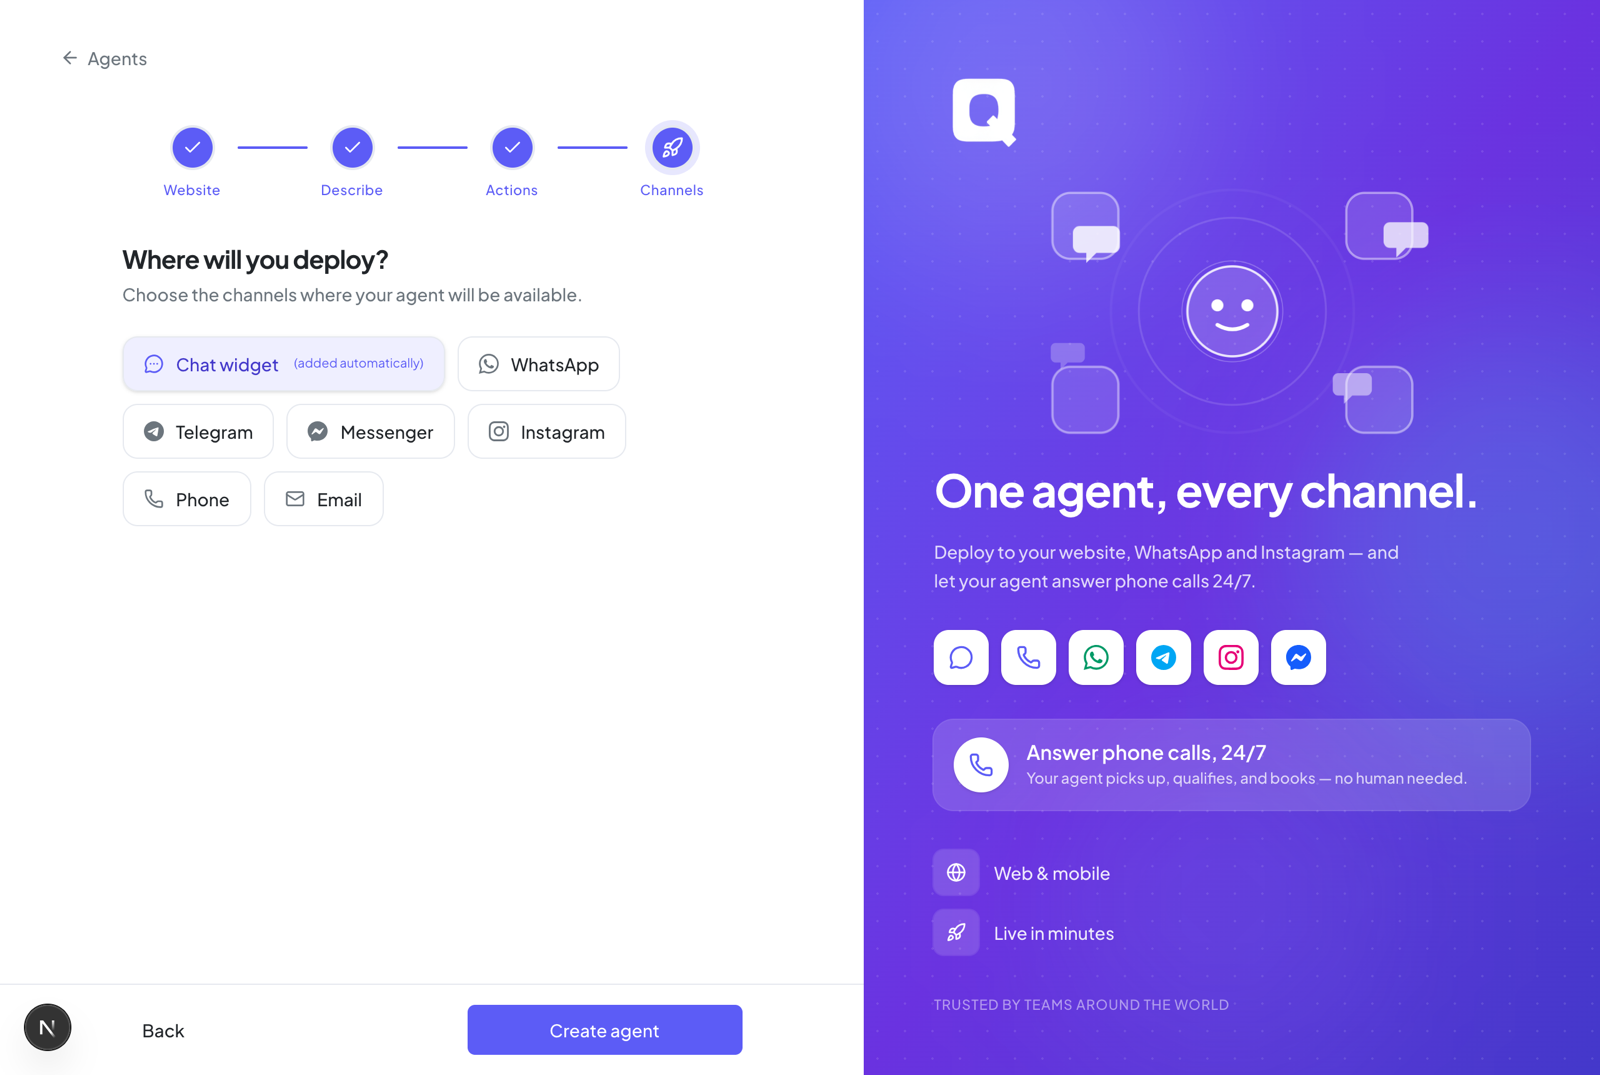
On Where will you deploy?, tick the channels you plan to use — the Chat widget included. Then click Create agent.
Qalyb checks how much it has to work with. If your description was rich, it writes the whole agent in one go — a progress panel shows what it's drafting. If it needs more, it asks you 2–6 quick multiple-choice questions instead (your audience, when to hand off to a human, tone), each with one recommended answer. Answer them, or click Skip to generate right away.
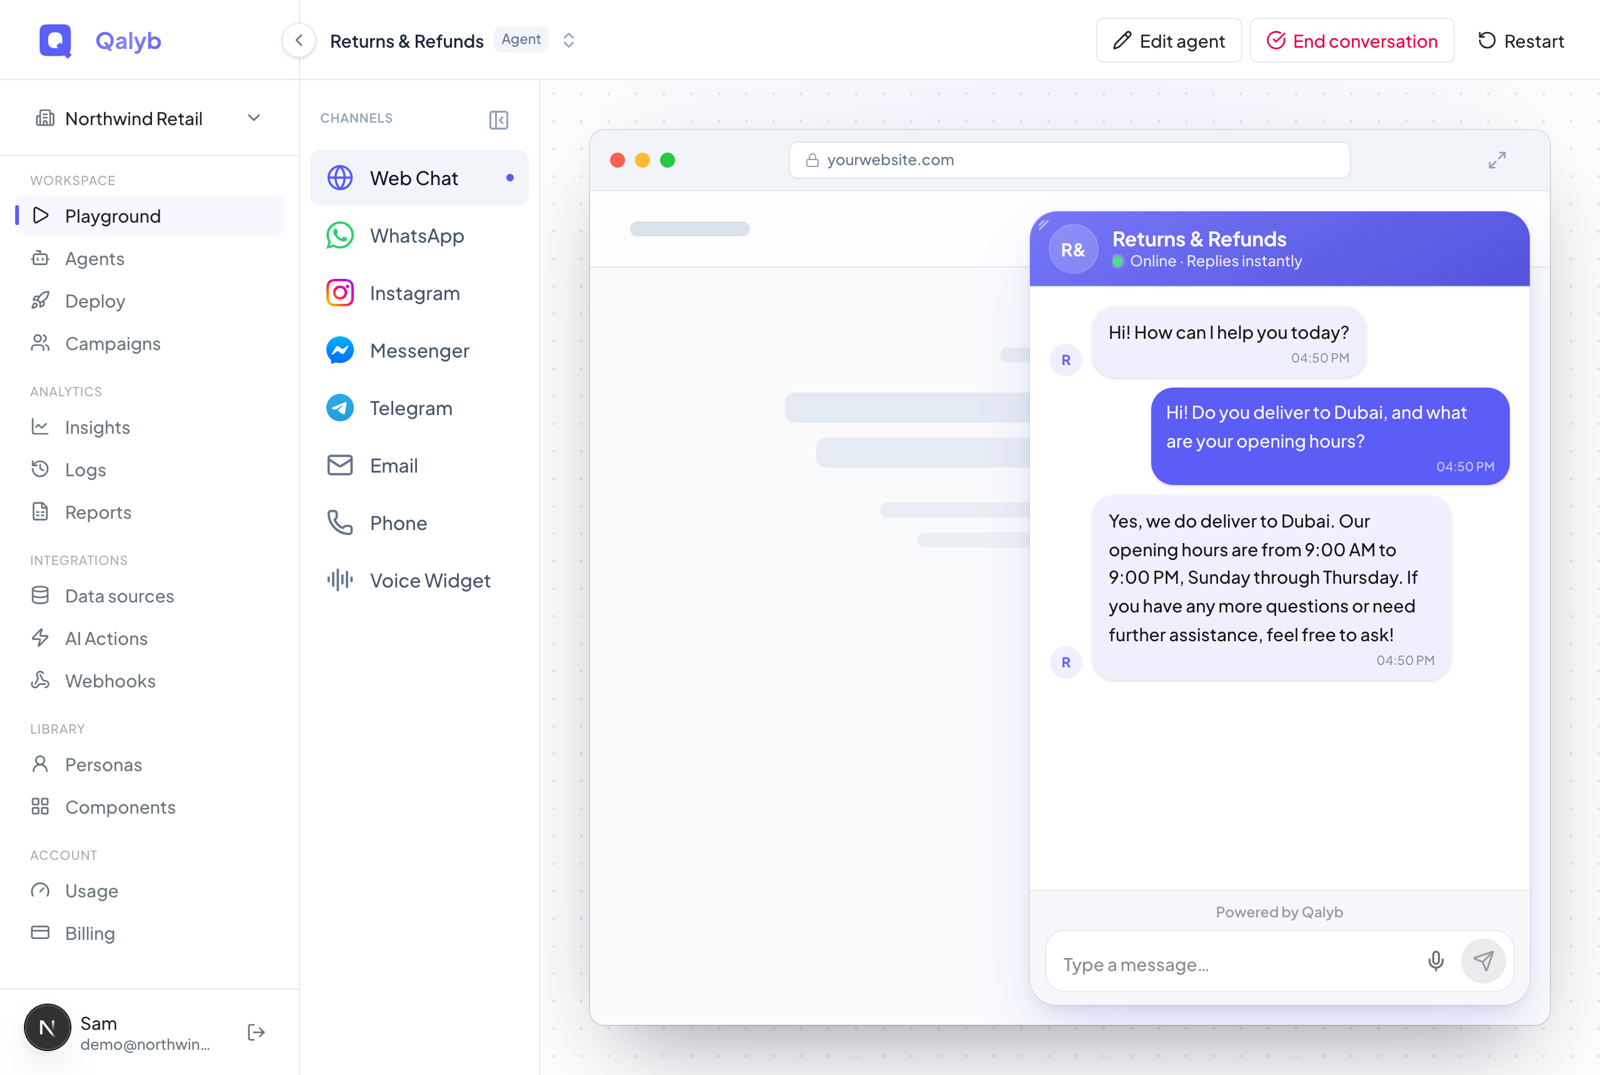
When it finishes, Qalyb creates the agent and drops you into the Playground with your new agent loaded. Type a question a real customer would ask and watch it answer.
Test it like a customer would
The Playground is your private space to talk to the agent before anyone else does — it's also the first page you see after logging in. If your agent uses conversation variables (shown as @name, with * marking required ones), a Set up the conversation box appears first — fill in the required values and press Start chat.
Use the rail on the left to preview the very same agent on Web Chat, Telegram, Email, Phone, and the Voice Widget — with WhatsApp, Instagram and Messenger coming soon — each rendered in a skin that matches the real channel. Switching channels starts a fresh conversation, so finish one test before you hop.
Put it on your website
Open Deploy in the left menu and connect Web → Chat Widget to your agent. Once it's created, open the widget's Embed tab, copy the small snippet there, and paste it just before the closing </body> tag of your site — or send it to whoever manages your website. The website guide walks through it screen by screen.
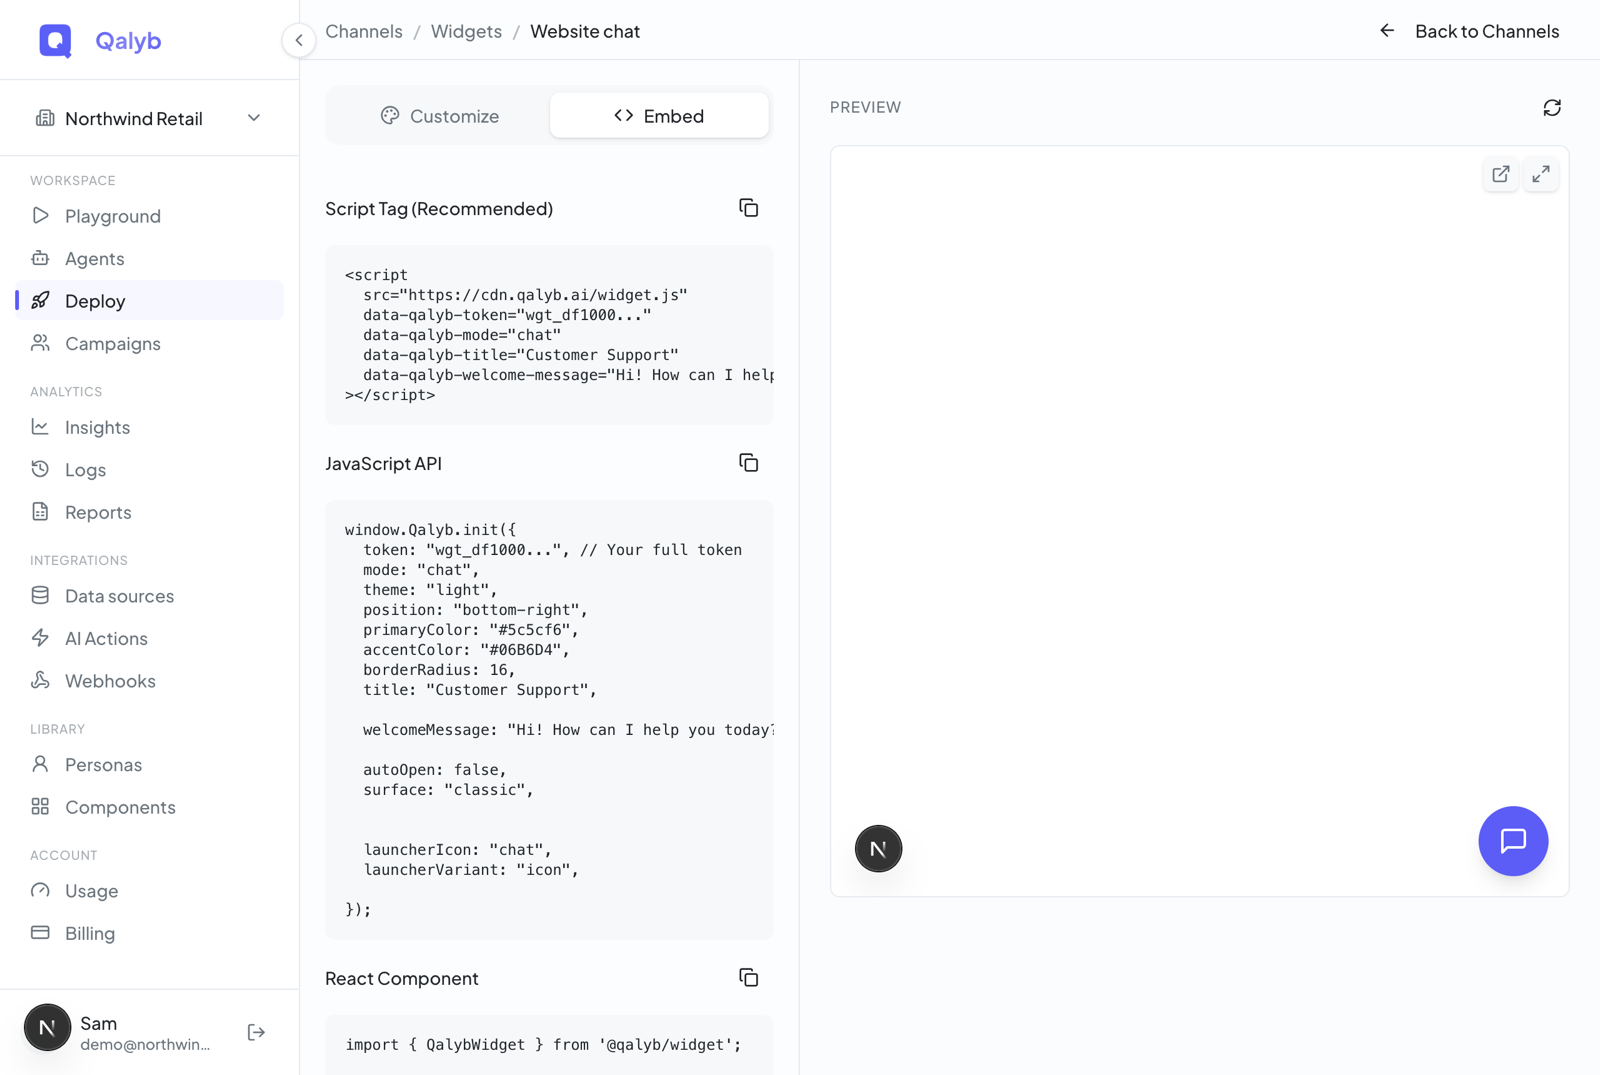
On the same widget page you can list Allowed Domains (for example example.com) so the widget only works on your site — Qalyb enforces this on the server. Leave it empty to allow any site. You can also change the colors, position, launcher button, and welcome message, with a live preview as you edit.
No website changes? Share a link instead
Open your agent and use Share Links to generate a public page anyone can open — no account needed — to chat with or call your agent. You can add a password and an expiry date. It's the fastest way to demo a fresh agent to a colleague or client. See Share links.
What just happened
From one URL and one sentence, the wizard built the whole package: instructions grounded in your business, a persona for voice and tone, a knowledge base from anything you attached, and your brand colors ready for any channel. From here, refine what it says, add more business info and actions, and connect more channels whenever you're ready.