Connect email
After this guide, your agent has its own email address. Customers write in, Qalyb keeps each exchange in a tidy thread, and the agent either answers automatically or drafts a reply for your team to approve.
There are two ways to get an address, depending on how branded you need it to be:
- Use a Qalyb address — ready in seconds, e.g.
support@yourteam.qalyb.email. Best for getting started fast. - Connect your own domain — receive on
support@yourcompany.comafter adding a few DNS records. Best for customer-facing support that should look like it comes from you.
The fast way: use a Qalyb address
Qalyb gives your agent a working inbox on a qalyb.email address immediately — no DNS, no waiting. About 2 minutes.
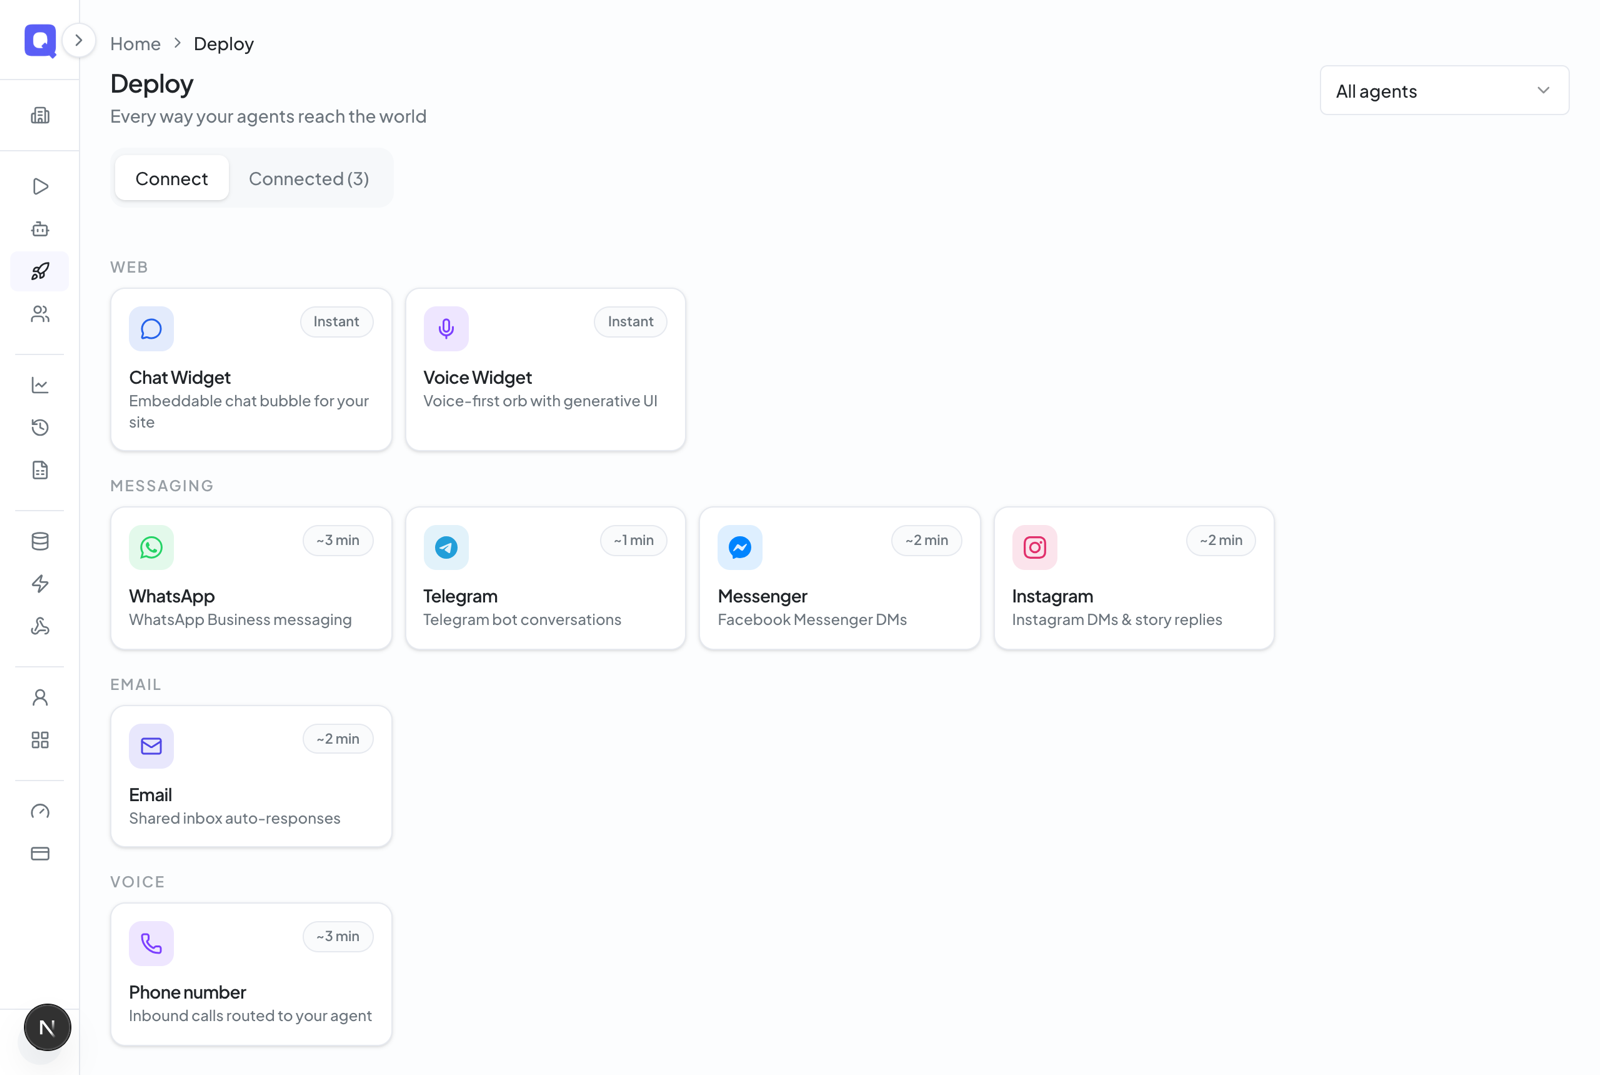
In the dashboard, click Deploy in the left menu, then Connect a channel. Under Email, you get two options — pick Use a Qalyb address (it carries a Fastest badge).
Choose the agent that should read and answer this inbox. If you came here from an agent's page, it's already picked for you.
Optionally set an Address prefix (the part before the @, e.g. support) and a Sender name that appears on outgoing replies. Leave the prefix blank and one is assigned for you.
Click Create email address — the inbox is live the moment it's created. Email it from your own mailbox; within seconds the message appears as a new thread on the inbox's page.
The branded way: connect your own domain
To send and receive on your own domain — so replies come from support@yourcompany.com — you add a few DNS records once, then create as many inboxes on that domain as your plan allows.
In Connect a channel → Email, choose Connect your domain (badged Your brand). Type your domain (e.g. yourcompany.com), optionally pick the agent, and click Get DNS records.
Qalyb shows a table of records. Copy each one — Type, Name, Value (and the MX priority where shown) — into your DNS host. If someone else manages your domain, this table is exactly what to send them.
The setup screen re-checks your DNS every 12 seconds — you can also click Re-check DNS to check right away. Each record shows Pending until it's found, then flips to Verified.
Once the domain shows Verified, the Create an inbox on this domain form appears. Set the address prefix, pick the agent, and your inbox goes live at prefix@yourcompany.com.
The shared inbox
Click an email inbox to open it. The header shows the address (copyable), its status, the agent that answers, a Delete button, and the Reply mode toggle. Below is the conversation list — every thread with its From, Subject, and last-activity time, with search and a list/grid view toggle like the rest of the dashboard.
Auto-reply or approval — you choose
| Mode | What happens when an email arrives |
|---|---|
| Approval (default) | The message is captured and a reply is drafted, but nothing sends until someone on your team opens the thread and replies. |
| Auto-reply | The agent answers on its own — no action needed from your team. |
Reading threads and replying yourself
Click a conversation to open the full thread — each message shows as a card, customer messages and agent replies in order, with from, to, and subject. A composer at the bottom lets anyone on your team type a reply and click Send Reply. Replies always go back to the customer's address and land in their existing email thread, not as a new conversation.
Managing and removing inboxes
You can hand an inbox to a different agent at any time, or delete an inbox you no longer need with the Delete button on its page. Deleting stops incoming email immediately but keeps the existing threads visible for reference.
For developers
Everything above is also available over the REST API. Provision a hosted inbox:
curl -X POST https://api.qalyb.ai/email/inboxes \
  -H "Authorization: Bearer sk-live-..." \
  -H "Content-Type: application/json" \
  -d '{
    "agentId": "agt_abc123",
    "username": "support",
    "displayName": "Acme Support"
  }'
Add a custom domain and get its DNS records:
curl -X POST https://api.qalyb.ai/email/domains \
  -H "Authorization: Bearer sk-live-..." \
  -H "Content-Type: application/json" \
  -d '{ "domain": "yourcompany.com", "agentId": "agt_abc123" }'
Re-check verification after adding the records:
curl -X POST https://api.qalyb.ai/email/domains/dom_xyz789/verify \
  -H "Authorization: Bearer sk-live-..."
Create an inbox on the verified domain by passing its id:
curl -X POST https://api.qalyb.ai/email/inboxes \
  -H "Authorization: Bearer sk-live-..." \
  -H "Content-Type: application/json" \
  -d '{
    "agentId": "agt_abc123",
    "username": "support",
    "domainId": "dom_xyz789"
  }'
Send a manual reply on a thread:
curl -X POST https://api.qalyb.ai/email/threads/thr_abc123/reply \
  -H "Authorization: Bearer sk-live-..." \
  -H "Content-Type: application/json" \
-d '{ "text": "Thanks for reaching out — your booking is confirmed for Tuesday at 3pm." }'| Endpoint | What it does |
|---|---|
POST /email/inboxes | Provision an inbox (agentId, optional username, displayName, domainId). |
GET /email/inboxes | List inboxes. |
PATCH /email/inboxes/:inboxId | Update an inbox — reassign agent, rename, or toggle autoReply. |
DELETE /email/inboxes/:inboxId | Delete an inbox. |
POST /email/domains | Add a custom domain and get its DNS records. |
POST /email/domains/:domainId/verify | Re-check DNS and verify the domain. |
GET /email/threads?inboxId= | List threads for an inbox. |
GET /email/threads/:threadId/messages | Fetch the full message list for a thread. |
POST /email/threads/:threadId/reply | Send a manual reply (text, optional html). |
Outbound replies are threaded correctly via In-Reply-To / References, and always go to the thread's customer address.
What it costs
Each reply your agent sends uses one chat-message credit — the same as the website chat widget.