Give your agent a phone number
After this guide, people can call a real phone number and your agent will answer — and your agent can dial out, too. You bring a number from your carrier and connect it in two short steps, all from the dashboard.
You set up two things, in order:
- A SIP trunk — tells Qalyb which carrier your number lives with and how to talk to it. Think of it as the cable between Qalyb and your carrier.
- A phone number — your actual number, pointed at the agent that should answer it. This is what makes incoming calls reach your agent.
Qalyb handles all the call routing behind the scenes — there's nothing else to wire up.
First, connect your carrier
In the dashboard, click Deploy in the left menu, then Connect a channel. Pick Phone number under the Voice group and click Open phone setup. The page has two tabs: Phone Numbers and SIP Trunks.
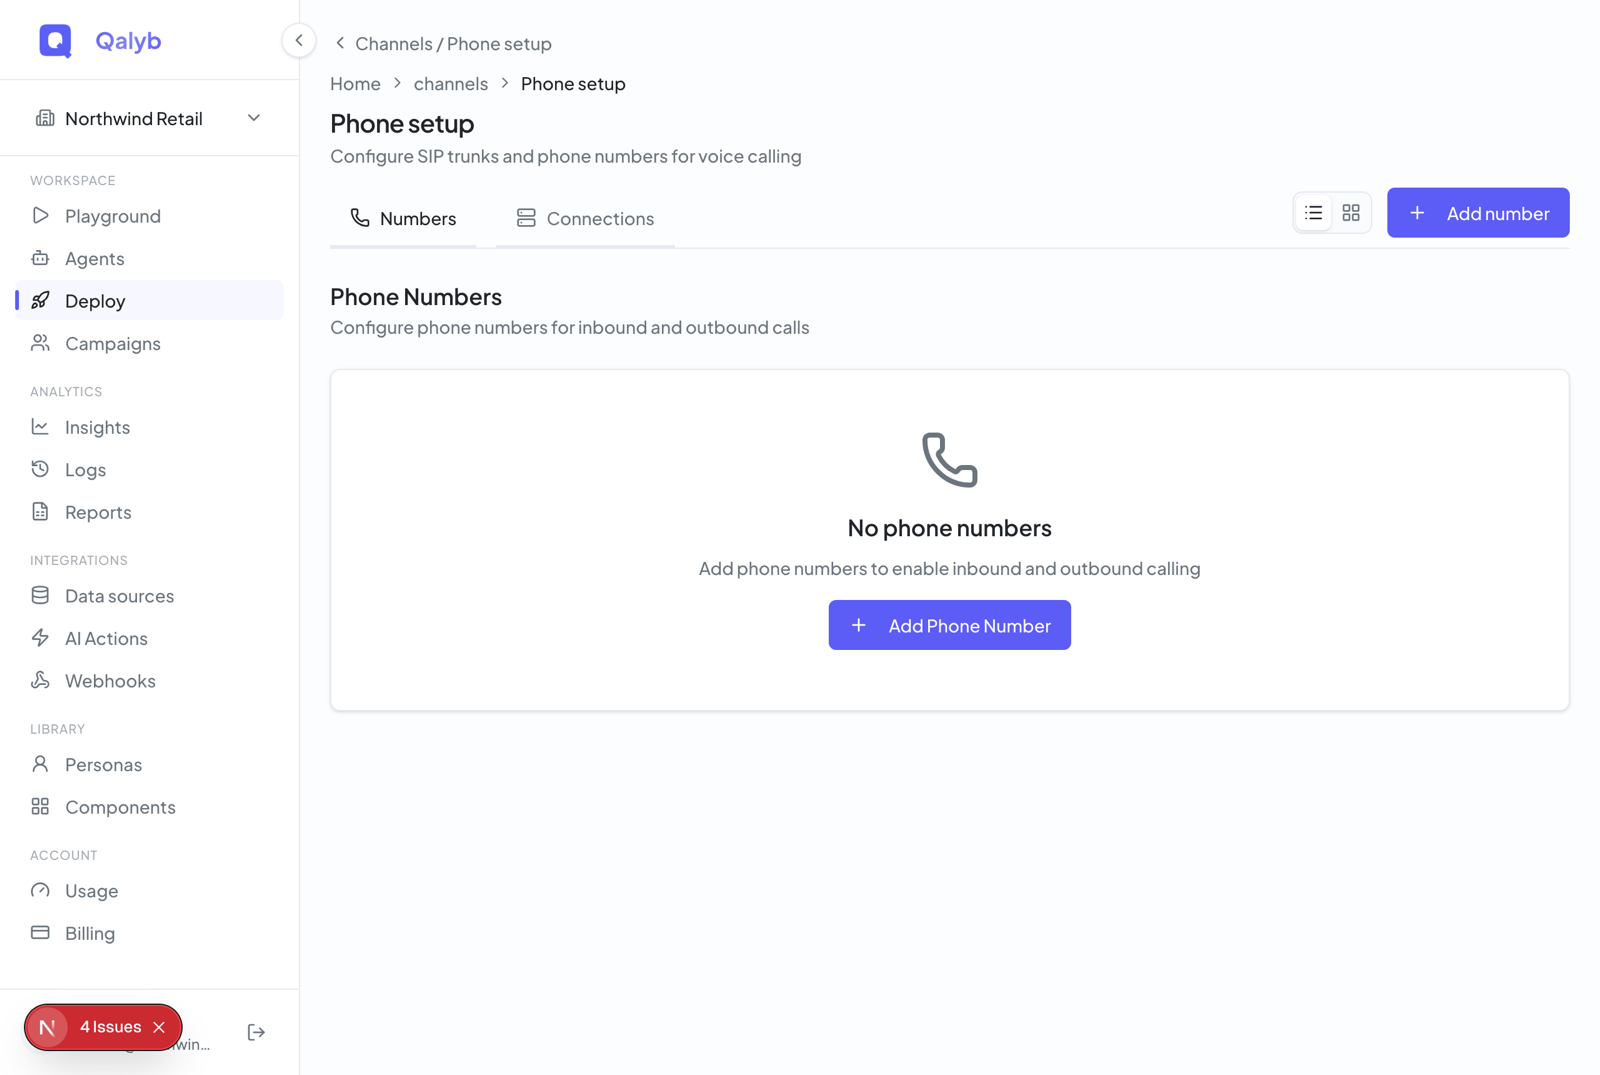
Switch to the SIP Trunks tab and click Add Trunk. Give it a name you'll recognize, like Telnyx Main or Twilio Outbound.
Pick Twilio, Telnyx, or Custom. The choice auto-fills the SIP server address for you (Telnyx → sip.telnyx.com, Twilio → {account}.pstn.twilio.com), and an inline note tells you exactly where to find the credentials in that carrier's dashboard.
Choose Inbound (receive calls), Outbound (place calls), or Both. Then add your purchased phone number(s) (comma-separated), the SIP server address, username, and password. For inbound, you can optionally add Allowed Inbound Addresses — a safety list of your carrier's network addresses.
Click Create Trunk. Qalyb provisions its side of the connection automatically — when the status badge shows a green check, the trunk is ready.
X-Telnyx-Username header, and if you leave the inbound allowlist empty it defaults to Telnyx's signaling ranges 64.16.0.0/16 and 185.246.0.0/16.Then, point your number at your agent
On the Phone Numbers tab, click Add Number and type the number in full international (E.164) format — the + and country code included, like +97180012345 (UAE) or +966512345678 (Saudi Arabia). No spaces, dashes, or leading zeros.
Select the SIP trunk you created above — or leave it as No trunk if you're only staging the record for later.
Pick the voice agent that should handle the calls. A number with no agent can't answer incoming calls — assigning the agent is what switches it on.
Choose Inbound, Outbound, or Both, then click Add Number. For inbound (or both) with an agent assigned, Qalyb wires up the incoming-call routing automatically.
Dial the number from your own phone — your agent should pick up.
When customers call
Once a number is inbound-capable with an assigned agent, incoming calls just work: the agent answers, the call is recorded, and the transcript is saved when it ends. You'll find each call in Logs with its transcript and recording — and, on Pro and above, a post-call report with sentiment and success scoring.
not_available.Calling out
Outbound dialing needs an outbound-enabled trunk plus an active number whose direction is Outbound or Both. There are three ways to place a call:
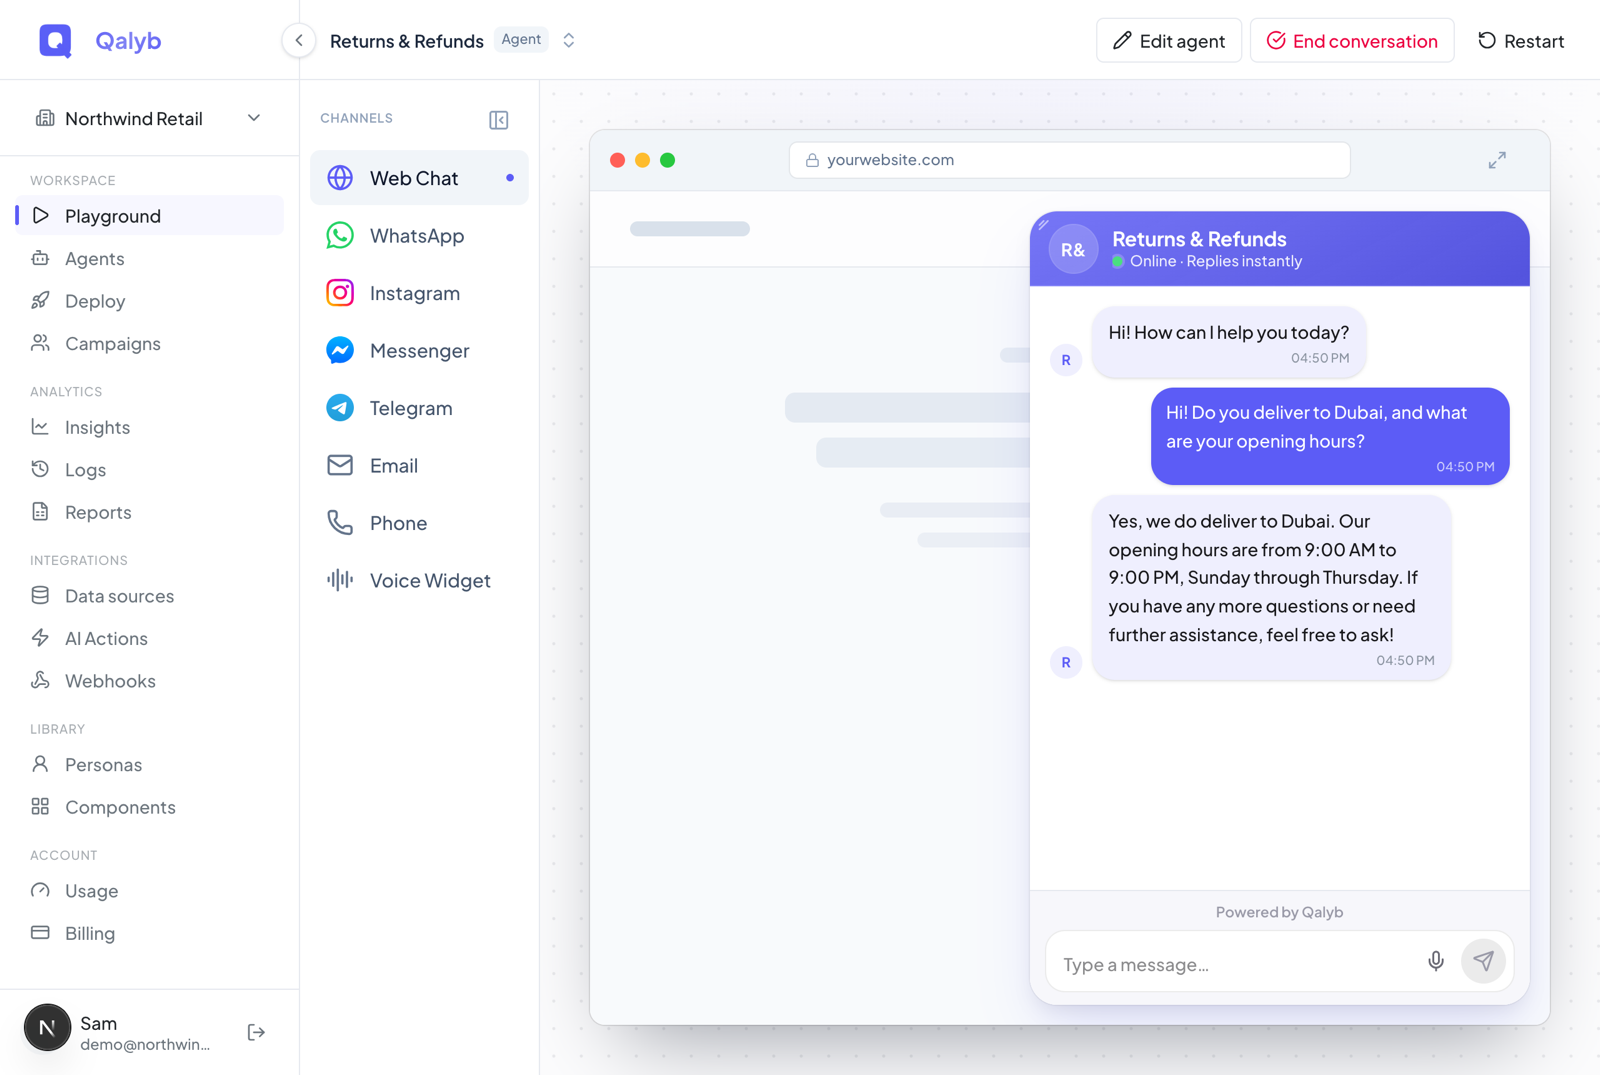
- Playground — the fastest way to test. Select the agent, choose the Voice channel, switch the direction to Outbound, and type the destination number. The screen shows which number the call will come from before you dial, and the status updates live from ringing to completed.
- Campaigns — dial a whole contact list at scale. Create a campaign, pick an outbound number, and set a default country code (GCC countries are preferred) so local numbers in your list are normalized automatically.
- API — place calls programmatically; see Place calls via API and the developer section below.
No outbound phone number configured; missing a trunk returns No outbound SIP trunk configured. Some error messages still mention the old Settings > Telephony location — that's now the phone setup page. If the agent never joins the call, it's marked agent_timeout.If something looks off
The Status badge on a trunk (green check vs. amber alert) tells you whether Qalyb's side of the carrier connection was fully set up. If it's amber, the trunk was saved but the connection didn't finish — click Reconnect on the SIP Trunks tab to retry. The sync only touches records your organization owns; it never adopts anything else.
••••••••, and leaving it blank keeps the current value.For developers
Everything on this page is also available over the API. All endpoints require the channels:read or channels:write permission.
| Endpoint | Purpose |
|---|---|
GET /sip/trunks | List SIP trunks. |
POST /sip/trunks | Create a trunk and connect it to your carrier for inbound/outbound calls. |
PATCH /sip/trunks/:id | Update the trunk record (does not re-push carrier connection changes). |
DELETE /sip/trunks/:id | Delete the trunk and its carrier connection. |
GET /sip/phone-numbers | List phone numbers. |
POST /sip/phone-numbers | Create a number and (for inbound/both with an agent) its call routing. |
PATCH /phone-numbers/:id | Assign an agent to an existing number. |
POST /sip/sync | Reconcile this org's trunks and call routing with your carrier. |
Create a trunk
curl -X POST https://api.qalyb.ai/sip/trunks \
  -H "Authorization: Bearer sk-live-..." \
  -H "Content-Type: application/json" \
  -d '{
    "name": "Telnyx Main",
    "provider": "telnyx",
    "inboundEnabled": true,
    "inboundNumbers": ["+97180012345"],
    "inboundAllowedAddresses": ["64.16.0.0/16", "185.246.0.0/16"],
    "outboundEnabled": true,
    "outboundAddress": "sip.telnyx.com",
    "outboundUsername": "qalyb_acme",
    "outboundPassword": "••••••••"
  }'
Map a number to an agent
curl -X POST https://api.qalyb.ai/sip/phone-numbers \
  -H "Authorization: Bearer sk-live-..." \
  -H "Content-Type: application/json" \
  -d '{
    "number": "+97180012345",
    "sipTrunkId": "trk_5a1b",
    "agentId": "agt_abc123",
    "direction": "both"
  }'
List your numbers
curl https://api.qalyb.ai/sip/phone-numbers \
  -H "Authorization: Bearer sk-live-..."
Place an outbound call
curl -X POST https://api.qalyb.ai/calls/outbound \
  -H "Authorization: Bearer sk-live-..." \
  -H "Content-Type: application/json" \
  -d '{
    "agentId": "agt_abc123",
    "toNumber": "+97155123456",
    "fromNumberId": "pn_9f2c"
  }'
If you omit fromNumberId, Qalyb resolves the from-number by preference: the agent's assigned active number first, then any active number in your org. Call status moves through ringing → in_progress → completed / no_answer / failed, and the Playground polls it every couple of seconds.